
How to Add a Client's Places of Service (Addresses)
The Addresses tab is found on the client's profile page. Here, you will be able to see the service addresses of the client.
The address that was entered upon Adding the Client will reflect on the addresses tab as the default address of the client. In this screen, you can add more service addresses, edit the existing addresses, set up a new default address, and delete the address that is no longer used by the client.
To navigate to the client addresses screen:
-
Click clients on the left navigation menu.
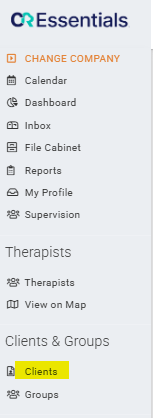
- Select the client to whom you want to add an address to.
-
Click the Addresses tab.
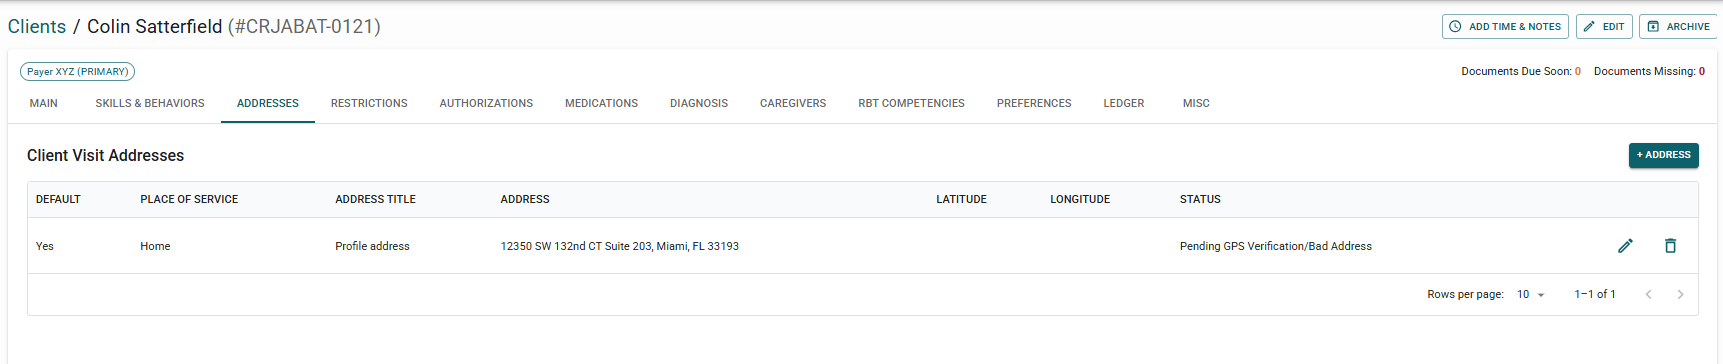
-
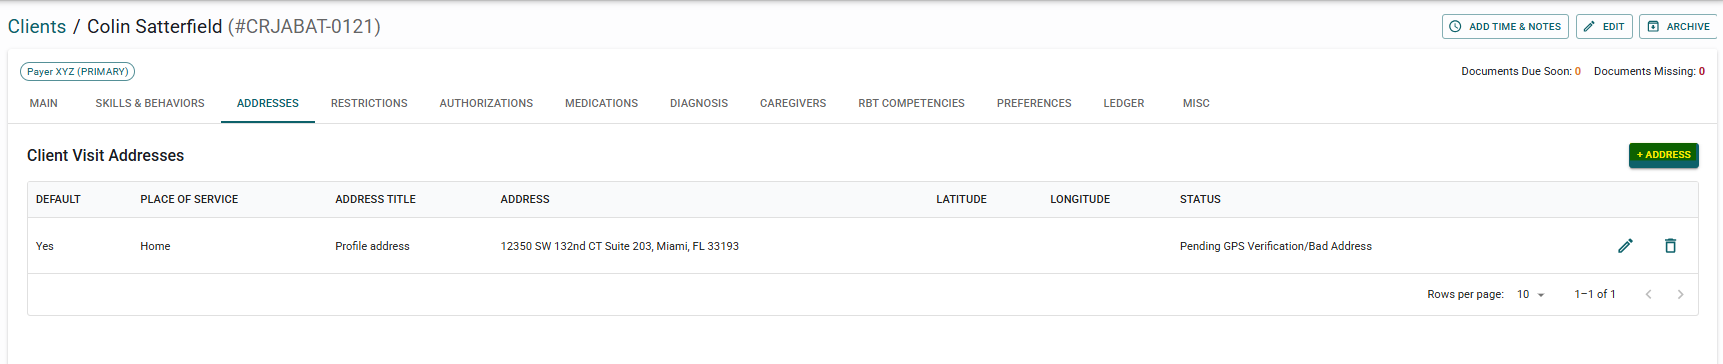
At the client addresses screen, click on the +Address button or the pencil icon on an existing one.
- The Add Address pop-up screen will appear. Type of Address, Address 1, City, State and ZIP are the required fields on this screen. You can configure the Type of Address at the Settings - Places of Service screen. You may set an optional Name/Title of the specific address selected by entering it at the Optional Title field. If the Default Address - Yes checkbox is selected, the newly added address will become the default address if none is selected when scheduling a visit for the client.
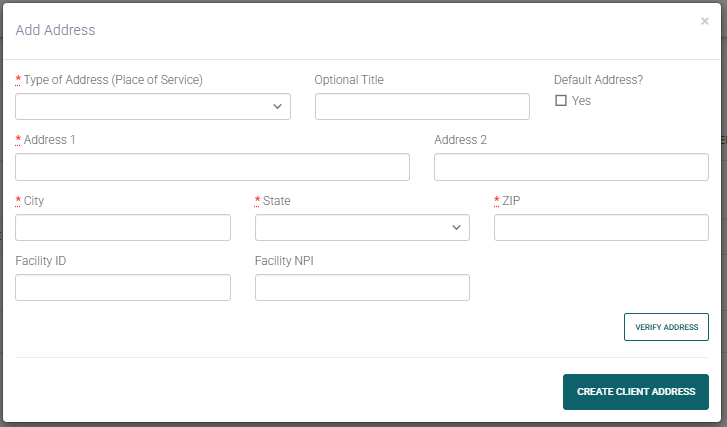
- After you enter all information, click the Create Client Address button.
You can edit or delete any address by clicking on the pencil icon to edit or the trashbin icon to delete.